2024 Comprehensive Guide to Growing Your YouTube Channel: Tips, Strategies, and Best Practices
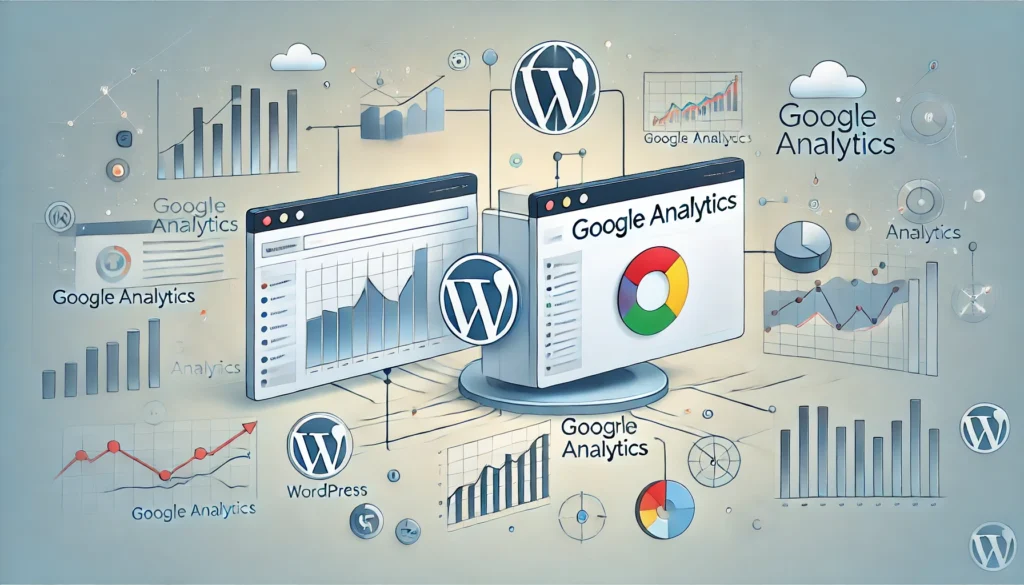
A YouTube channel is a dedicated page on the YouTube platform where users (individuals, businesses, or organizations) can upload, organize, and share videos. It serves as a profile or home base for all the content a creator uploads, and subscribers can follow the channel to receive updates whenever new videos are posted. Key Features of a YouTube Channel: Types of YouTube Channels: A YouTube channel serves as a platform where creators can build a community, share their passion, entertain, educate, or promote their brand, and even earn money through their content. YouTube channels are important for a variety of reasons, offering value for individuals, businesses, and organizations alike. Here are some of the key benefits and importance of having a YouTube channel: 1. Content Sharing and Reach 2. Brand Building and Promotion 3. Educational Value 4. Community Building and Engagement 5. Monetization and Revenue Generation 6. Search Engine Optimization (SEO) Benefits 7. Cost-Effective Marketing 8. Entertainment and Inspiration 9. Career Opportunities 10. Market Research and Feedback Summary A YouTube channel is important because it serves as a versatile tool for reaching a large audience, building a brand, educating viewers, generating income, and creating a community. Whether for personal expression, business growth, or education, it offers numerous opportunities for impact and success in the digital world. Creating a YouTube channel and growing it into a successful platform involves several in-depth steps. Here’s a comprehensive guide on how to create and optimize a YouTube channel, covering everything from setup to growth strategies. 1. Setting Up Your YouTube Channel Step 1: Create a Google Account Step 2: Create the Channel Step 3: Customize the Channel 2. Uploading Your First Video Step 1: Content Planning Step 2: Recording the Video Step 3: Editing the Video 3. Optimizing Video for SEO Step 1: Video Title Step 2: Video Description Step 3: Tags Step 4: Thumbnail 4. Channel Optimization Step 1: Channel Layout Step 2: Playlists Step 3: Featured Channels 5. Promoting Your Channel Step 1: Leverage Social Media Step 2: Collaborate with Other YouTubers Step 3: Use End Screens and Cards Step 4: Engage with Your Audience 6. YouTube Analytics and Growth Tracking Step 1: Monitor Analytics Regularly Step 2: Adjust Content Based on Analytics 7. Monetization Strategies Step 1: Join the YouTube Partner Program (YPP) Step 2: Enable Ad Revenue Step 3: Explore Other Revenue Streams 8. Common Mistakes to Avoid By following these steps and continually learning and improving, you can create a successful YouTube channel and grow your presence over time. Creating a YouTube channel involves several steps, from setting it up properly to optimizing it for growth. Here’s a detailed guide to help you create a successful YouTube channel: Step 1: Sign in to YouTube Step 2: Create Your YouTube Channel Step 3: Customize Your Channel Step 4: Upload Your First Video Step 5: Optimize Your Videos Step 6: Organize Your Channel Step 7: Promote Your Channel Step 8: Monitor Your Channel’s Performance Step 9: Monetization (Once Eligible) Tips for a Successful YouTube Channel By following these steps and tips, you can create a well-organized, attractive, and engaging YouTube channel that stands out. Growing a YouTube channel requires a combination of content strategy, audience engagement, and optimization techniques. Here’s a detailed guide to help you expand your channel effectively: 1. Content Strategy A. Find Your Niche B. Create High-Quality Content C. Develop Engaging Content Ideas 2. Video Optimization for YouTube SEO A. Use Compelling Titles B. Write a Detailed Description C. Add Tags to Your Video D. Create Custom Thumbnails E. Use End Screens and Cards 3. Audience Engagement A. Encourage Viewer Interaction B. Create Community Posts C. Go Live 4. Promoting Your Channel A. Leverage Social Media B. Collaborate with Other YouTubers C. Use Email Marketing 5. Analyzing Performance and Making Improvements A. Utilize YouTube Analytics B. Adjust Your Strategy Based on Data 6. Monetization and Growing Revenue A. Join the YouTube Partner Program B. Explore Other Revenue Streams 7. Avoiding Common Mistakes A. Inconsistent Posting Schedule B. Ignoring Video Analytics C. Poor Thumbnails and Titles D. Neglecting SEO Here are additional strategies and advanced tips to further grow a YouTube channel, covering advanced promotion techniques, community building, monetization tactics, and leveraging YouTube’s algorithm: 8. Advanced Promotion Techniques A. Leverage YouTube Shorts B. Use Paid Promotion and YouTube Ads C. Participate in YouTube Groups and Forums D. Utilize Email Outreach 9. Building a Strong Community A. Foster a Loyal Subscriber Base B. Encourage User-Generated Content C. Develop a Private Community Space 10. Understanding and Leveraging YouTube’s Algorithm A. Focus on Watch Time and Session Time B. Optimize for Suggested Videos C. Keep Consistent Audience Engagement 11. Monetization Techniques Beyond Ads A. Affiliate Marketing B. Create and Sell Digital Products C. Offer Premium Content or Memberships D. Create a Merchandise Store 12. Utilizing Analytics for Growth A. Monitor Traffic Sources B. Audience Demographics Analysis C. Experiment with Different Upload Times 13. Cross-Promoting on Other Platforms A. Use Your Other Social Media Channels B. Embed Videos in Blog Posts C. Start a Podcast 14. Staying Up-to-Date with YouTube Trends A. Follow YouTube Creator Updates B. Adapt Quickly to New Features 15. Avoiding Burnout While Growing A. Set Realistic Goals B. Take Breaks When Needed By employing these advanced strategies and continually refining your approach, you can build a stronger, more engaged YouTube community, maximize your reach, and achieve sustainable growth on the platform.