Creating a subdomain in Hostinger for your WordPress website involves a few simple steps. Subdomains are useful for organizing different sections of your website (like blog.example.com or shop.example.com). Here’s a complete guide to help you set up a subdomain on Hostinger for your WordPress site:
Step-by-Step Guide to Creating a Subdomain in Hostinger
1. Log in to Hostinger Control Panel (hPanel)
- Go to Hostinger and log in to your account.
- Navigate to the hPanel (Hostinger’s control panel).
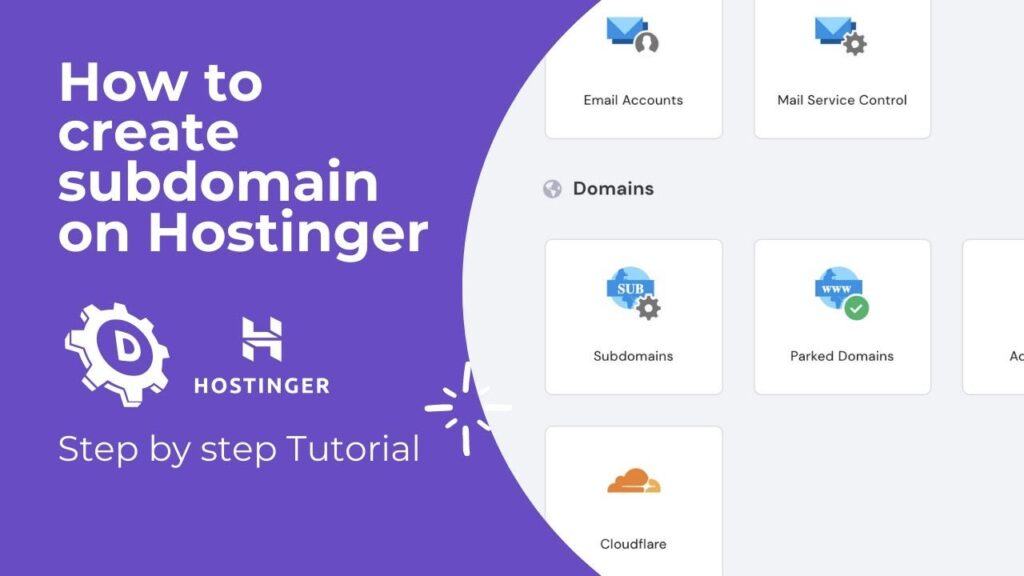
2. Go to the Subdomains Section
- Once you’re logged in, look for the Hosting tab and select the domain for which you want to create a subdomain.
- Scroll down and under the Domains section, you’ll find an option called Subdomains. Click on it.
3. Create the Subdomain
- In the Subdomains page, you’ll see an input field to create a new subdomain.
- Enter the desired subdomain name (e.g.,
blog,shop, etc.). If your domain isexample.com, you would inputblogto createblog.example.com. - Choose the domain from the dropdown if you have multiple domains registered in Hostinger.
- Click on Create to add the subdomain.
4. Verify the Subdomain
- After creating the subdomain, it should appear in the list of subdomains under the same section.
- Hostinger will automatically create a folder in your website’s root directory (typically under
public_html), which will store the files for this subdomain.
5. Install WordPress on the Subdomain
- To install WordPress on the subdomain, go to Auto Installer in the Website section of hPanel.
- Select WordPress from the list of available scripts.
- In the installation setup, choose the newly created subdomain (e.g.,
blog.example.com) from the dropdown menu where it asks for the domain. - Complete the WordPress installation by setting your admin credentials, site name, and database details (if needed).
- Once installed, you can access your WordPress dashboard through
subdomain.example.com/wp-admin.
6. Update DNS Settings (If Needed)
- Hostinger usually manages the DNS settings for you automatically, but if your domain is hosted elsewhere, you may need to point your subdomain’s DNS to Hostinger’s servers.
- Go to DNS Zone Editor under the Domains section.
- Create an A Record pointing the subdomain to Hostinger’s IP address (usually provided in the DNS zone or hosting details).
7. Access and Customize Your Subdomain
- Once everything is set up, you can visit
subdomain.example.comin your browser to see your new WordPress installation. - Log in using the credentials you set during the WordPress installation to customize your subdomain and start building the content.
Tips:
- You can install themes, plugins, and customizations on the subdomain’s WordPress site just like you would on the main domain.
- Subdomains are treated as separate entities by search engines, so ensure that you optimize your subdomain’s SEO properly.
Additional Steps and Details for Creating a Subdomain in Hostinger
1. Folder Structure for Subdomains
- Once you create the subdomain in Hostinger, a new folder will automatically be created within the
public_htmldirectory, typically named after the subdomain (e.g.,public_html/blogforblog.example.com). - This folder will hold the WordPress installation files for the subdomain, keeping it separate from your primary domain files.
2. Managing WordPress Installation on the Subdomain
- After installing WordPress, you’ll want to configure some essential settings for the subdomain:
- General Settings: Navigate to the WordPress dashboard under Settings > General, and ensure that the Site URL and WordPress URL reflect your subdomain (e.g.,
https://blog.example.com). - Permalinks: Go to Settings > Permalinks to set how URLs will appear on your subdomain site. This can improve SEO and user experience.
- Theme Customization: You can install a separate theme or use the same theme as your main site. To customize, visit Appearance > Themes and choose or upload a theme specifically for the subdomain.
- General Settings: Navigate to the WordPress dashboard under Settings > General, and ensure that the Site URL and WordPress URL reflect your subdomain (e.g.,
3. DNS Propagation
- After creating the subdomain and adjusting the DNS settings (if required), keep in mind that DNS propagation can take up to 24-48 hours. During this time, the subdomain may not be immediately accessible from all locations.
- To check the status of DNS propagation, you can use tools like WhatsMyDNS.net.
4. SSL Certificates for Subdomains
- If you have SSL (Secure Sockets Layer) enabled on your main domain, you’ll want to ensure that your subdomain is also secured. In Hostinger, you can easily enable free SSL certificates using Let’s Encrypt.
- Go to hPanel > SSL.
- Find your subdomain in the list and click on Setup.
- Once configured, both your main domain and subdomain will be accessible via HTTPS (e.g.,
https://blog.example.com).
5. Redirecting Traffic from the Main Domain to Subdomains
- If you want to drive traffic to the subdomain from your main site, you can set up redirects or internal links:
- 301 Redirect: Use this for a permanent redirect to your subdomain. Add this code to the
.htaccessfile in your primary domain’s root directory:bash Redirect 301 /old-page https://subdomain.example.com/new-page - Internal Linking: You can create a landing page on the main domain with links directing users to the subdomain. For example, from your homepage (
example.com), you could add a navigation link to the subdomain (blog.example.com).
- 301 Redirect: Use this for a permanent redirect to your subdomain. Add this code to the
6. Managing Resources and Speed for Subdomains
- Subdomains hosted on the same server as your primary domain share resources (e.g., CPU, bandwidth). Ensure that your hosting plan can handle additional traffic to the subdomain.
- Use WordPress optimization plugins to keep performance high:
- Caching Plugins: Install a caching plugin like W3 Total Cache or WP Super Cache to speed up page load times.
- Image Optimization: Use image optimization tools like Smush to reduce file sizes without losing quality, which can significantly improve load times.
7. SEO for Subdomains
- Subdomains are considered separate websites by search engines. To optimize your subdomain for SEO:
- Submit the subdomain to Google Search Console as a separate property to monitor performance, indexing, and crawling issues.
- Use proper sitemap creation for the subdomain, which can be done via SEO plugins like Yoast SEO or Rank Math. Submit the sitemap to Google Search Console for improved indexing.
- Make sure your subdomain’s content is unique and not duplicated from your main site, as this can negatively impact SEO.
- Optimize title tags, meta descriptions, and headers for each page on your subdomain.
8. Analytics and Tracking
- Set up Google Analytics for your subdomain to track visitor behavior and performance separately from the main site:
- In Google Analytics, go to the Admin section and create a new Property for your subdomain (e.g., blog.example.com).
- Install the Google Analytics tracking code on your subdomain’s WordPress site. You can do this using plugins like MonsterInsights or directly pasting the tracking code into the subdomain’s theme header.
9. Backups and Security
- Subdomains are separate entities, so ensure you back up your subdomain’s WordPress installation regularly. Use backup plugins like UpdraftPlus or All-in-One WP Migration.
- Install security plugins like Wordfence or Sucuri to monitor potential threats and protect the subdomain from attacks.
Common Troubleshooting Tips
- Subdomain Not Working
- If the subdomain isn’t working after creation, check:
- DNS settings: Ensure the A record points to the correct IP address.
- Folder Path: Ensure the files are placed in the right directory (e.g.,
public_html/blog). - Propagation Time: DNS changes can take time. Wait 24-48 hours for DNS to propagate globally.
- Error: Too Many Redirects
- If you encounter a “Too Many Redirects” error, this could be a configuration issue in the .htaccess file. Check for conflicting redirect rules or misconfigured SSL settings.
- WordPress URL Mismatch
- If the site redirects to the wrong URL or the subdomain points to the main domain, ensure the Site URL and WordPress URL in Settings > General are set to the correct subdomain address.
Conclusion
Creating and managing a subdomain on Hostinger for your WordPress site is straightforward and offers significant benefits in organizing content, improving user experience, and expanding your online presence. With careful planning and optimization, subdomains can help you segment different areas of your business or brand, enhancing performance while maintaining a unified look and feel across all platforms.