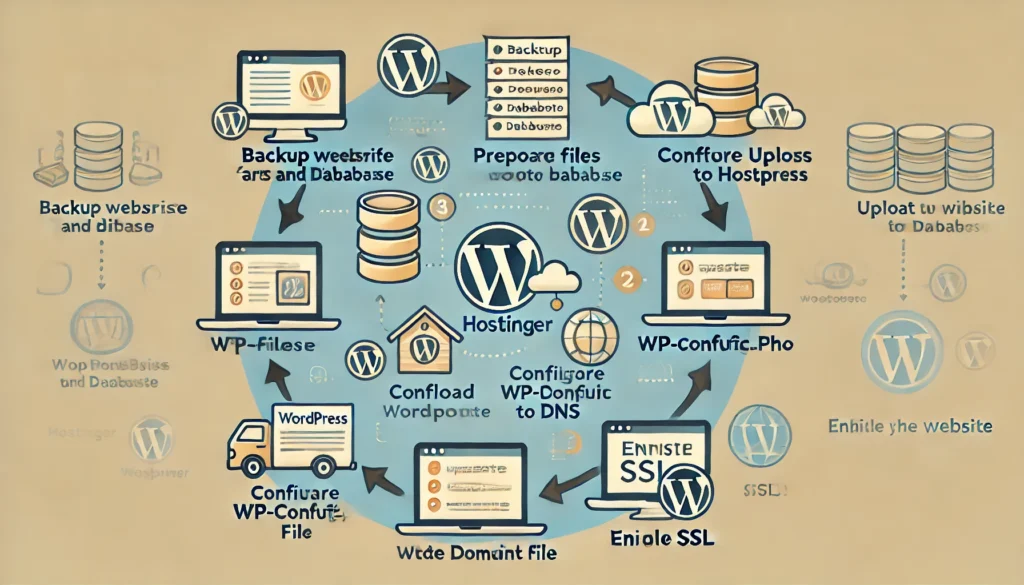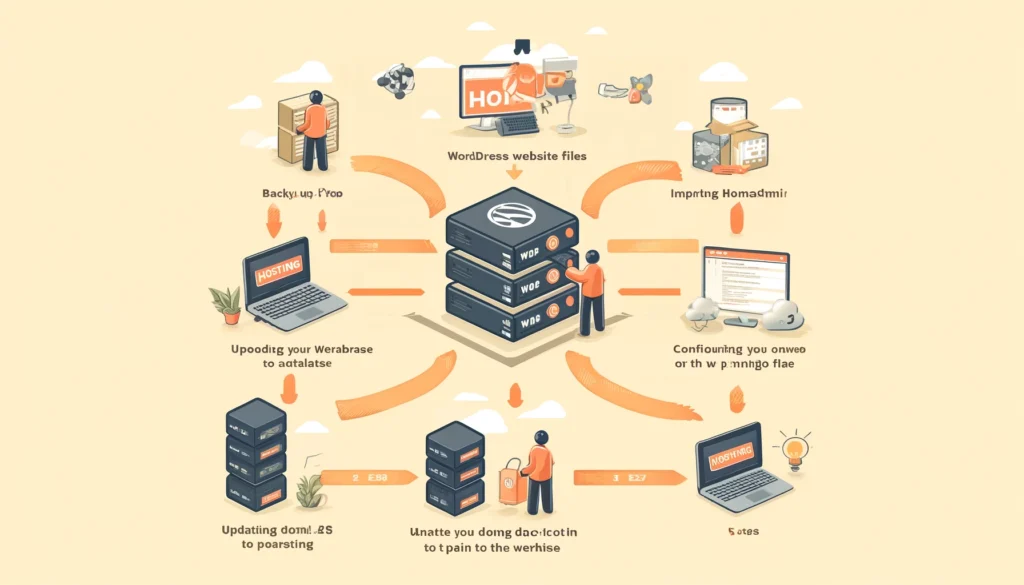
“WP website migrate” refers to the process of transferring a WordPress (WP) website from one hosting environment to another. This involves moving the website’s files, database, and configuration settings to a new hosting provider, domain, or server Migrating Your WordPress Website to Hostinger to Step-by-Step Guide..
Common Reasons for Migrating a WordPress Website
- Changing Hosting Providers: Moving to a different host for better performance, lower costs, or better customer support.
- Domain Change: Transferring the website to a new domain name.
- Upgrading to a New Server: Moving from shared hosting to a Virtual Private Server (VPS) or dedicated server for improved performance.
- Testing or Staging: Creating a duplicate of the site for development, testing, or staging purposes.
Key Components of a WordPress Website Migration
- Website Files: These include all WordPress core files, themes, plugins, and uploads (media library).
- Database: WordPress stores all website content, settings, and user information in a MySQL database.
- Configuration Settings: Settings in the
wp-config.phpfile, which connects the site to its database and manages security keys.
Migration Methods
- Manual Migration: Involves manually downloading and uploading website files, exporting and importing the database, and updating configuration settings.
- Plugin-Based Migration: Uses plugins like Duplicator, All-in-One WP Migration, or UpdraftPlus to automate the migration process.
- Hosting Provider Migration Services: Some hosting providers offer free or paid migration services to handle the entire process for you.
Successful migration ensures that the website remains functional, with minimal downtime and no data loss during the transfer.
Migrating a WordPress website to Hostinger can be important for several reasons, especially for those looking to take advantage of Hostinger’s features, cost-effectiveness, and support. Here’s why it could be particularly beneficial:
1. Performance Optimization
- Hostinger provides high-performance servers and solid-state drive (SSD) storage, which can significantly improve the loading speed of your WordPress website compared to other hosts.
- They offer LiteSpeed web servers and built-in caching tools that can further enhance website performance.
2. Affordability
- Hostinger is known for its cost-effective hosting plans, making it a popular choice for small businesses, bloggers, and personal websites.
- If you’re migrating from a more expensive host, moving to Hostinger could lower your hosting costs while still maintaining quality service.
3. Ease of Management with hPanel
- Hostinger uses a custom hPanel, which is user-friendly and provides tools like File Manager, phpMyAdmin, and DNS management. These can make the migration process smoother compared to more complex panels.
- The interface is simpler than traditional cPanel, with options streamlined for beginner users.
4. Free Migration Service
- Hostinger often offers free migration services, where their support team handles the transfer of your WordPress website, minimizing downtime and hassle for you.
- This service is especially useful for users who are not technically inclined or don’t want to deal with the manual migration process.
5. Improved Security
- Hostinger provides integrated security features like DDoS protection, automated backups, and SSL certificates, which can be beneficial if you’re migrating from a host with less robust security measures.
- The easy-to-use backup tools in Hostinger’s hPanel help ensure that your website data is safe during and after the migration process.
6. Global Data Centers
- Hostinger has data centers across multiple locations worldwide, allowing you to choose a server location close to your target audience for better website loading times.
- This can lead to an improvement in your website’s SEO performance and user experience due to faster page speeds.
7. Scalability Options
- If you anticipate future growth, Hostinger provides scalable hosting plans. You can easily upgrade your hosting plan to accommodate higher traffic or additional features without having to switch hosts again.
- Their services range from shared hosting to VPS and cloud hosting, catering to different website requirements.
Summary
Migrating your WordPress website to Hostinger can be an effective move if you are looking for better performance, lower costs, easy management, free migration services, and enhanced security. The process ensures your website runs smoothly on Hostinger’s infrastructure while potentially benefiting from improved speed, SEO, and user experience.

Let’s walk through a specific example of migrating a WordPress website to Hostinger. Suppose you have a WordPress blog currently hosted on a different provider (let’s call it “OldHost”), and you want to migrate it to Hostinger to take advantage of better performance and lower costs.
Example Scenario
- Current Website: A blog about travel tips, currently hosted on “OldHost.”
- Goal: Migrate the blog to Hostinger’s shared hosting plan to improve speed and reduce hosting expenses.
- Website Components: Includes posts, images, plugins, a custom theme, and a database with all the content.
Step-by-Step Migration Example
Step 1: Backup the Existing Website on “OldHost”
- Download Website Files:
- Use an FTP client like FileZilla to connect to “OldHost” and download all WordPress files located in the
public_htmldirectory (which contains folders likewp-content,wp-admin, etc.).
- Export the Database:
- Access phpMyAdmin in “OldHost” to export the database.
- Choose the WordPress database and click “Export” > “Quick” > “SQL” format. Download the exported
.sqlfile.
Step 2: Prepare Hostinger for Migration
- Set Up Hosting on Hostinger:
- Log in to your Hostinger account and ensure the hosting plan is active.
- Add the domain (if it’s already registered) or transfer it to Hostinger if needed.
- Create a New Database in Hostinger:
- In Hostinger’s hPanel, go to “Databases” > “MySQL Databases” and create a new database.
- Note the database name, username, and password for future use.
Step 3: Upload the Website to Hostinger
- Upload the Files:
- Use Hostinger’s File Manager or an FTP client to upload the downloaded WordPress files to the
public_htmldirectory.
- Import the Database:
- Go to phpMyAdmin in Hostinger, select the newly created database, and import the
.sqlfile that was exported from “OldHost.”
Step 4: Configure the wp-config.php File
- Edit the
wp-config.phpfile in thepublic_htmldirectory on Hostinger:
- Update the following lines with the new database details:
php define('DB_NAME', 'new_database_name'); define('DB_USER', 'new_database_user'); define('DB_PASSWORD', 'new_database_password'); define('DB_HOST', 'localhost');
- Save and close the file.
Step 5: Point the Domain to Hostinger
- Update the DNS Settings:
- Go to your domain registrar (where you registered the domain) and update the nameservers to Hostinger’s nameservers:
ns1.dns-parking.com ns2.dns-parking.com
- Wait for DNS Propagation: This may take a few hours.
Step 6: Test the Website on Hostinger
- Access the blog: Once the domain propagates, visit your travel blog to ensure it loads properly.
- Check for Broken Links: Make sure all posts, images, and plugins work correctly.
- Permalink Settings: Go to WordPress Dashboard > “Settings” > “Permalinks” and click “Save Changes” to refresh permalinks.
Step 7: Enable SSL (Optional but Recommended)
- Activate SSL: In Hostinger’s hPanel, navigate to “SSL” and activate a free SSL certificate for your domain.
- Update WordPress URL to HTTPS: Go to Settings > “General” in the WordPress dashboard and change the WordPress Address (URL) and Site Address (URL) to
https://yourdomain.com.
Results
After completing these steps, your travel blog should now be successfully migrated to Hostinger. You may notice:
- Improved loading speed due to Hostinger’s LiteSpeed servers and SSD storage.
- Reduced hosting costs, especially if “OldHost” was more expensive.
- Better user experience with SSL enabled, making your site more secure.
This example covers the full process of migrating a WordPress website to Hostinger, from creating backups to updating configurations and testing.

